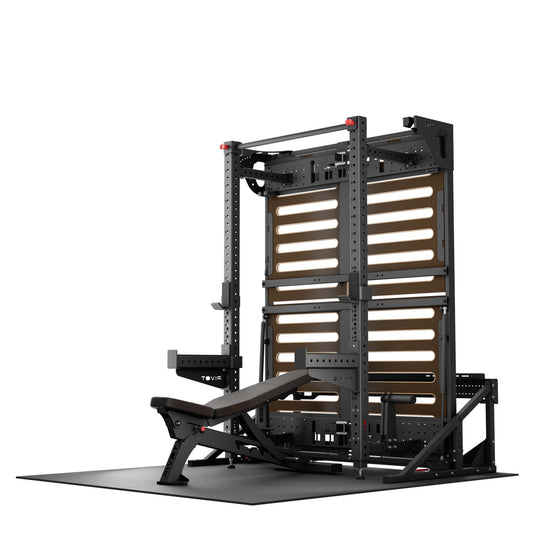


Installation
Installation Overview & Requirements
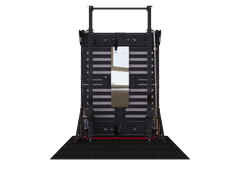
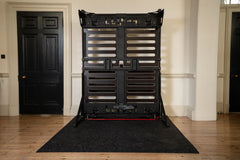
PIVOT is delivered on a large shipping pallet, flat-packed for customer assembly, with a kit of high-quality, branded tools.
Once your shipment is dispatched you will receive an email with a link to our installation guide. There are no cryptic drawings to leave you wondering if you've done the right thing, we've taken our time to produce comprehensive documentation to explain and illustrate every detail. We are also available to help via email, chat or WhatsApp, though this is very rarely required.
The vast majority of customers install PIVOT themselves, but some choose to use the services of a local DIY professional. Some areas will require a second person to help briefly in a non-technical way, but for most customers it is not worth employing a two-person team.
The details below are merely to give you confidence in your purchase, so you can be sure that PIVOT will work in your home.
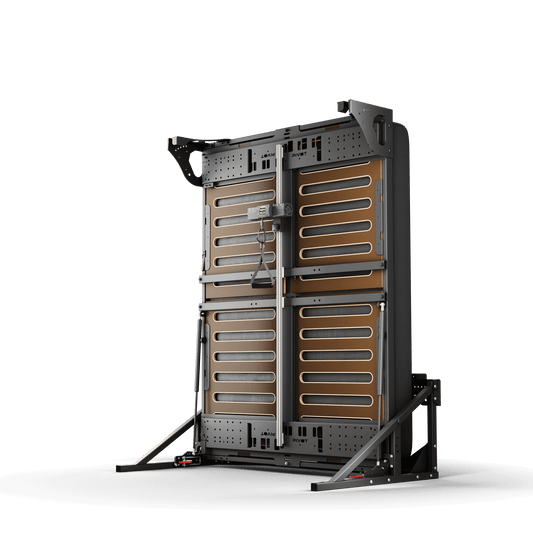
Wall Attachment Overview
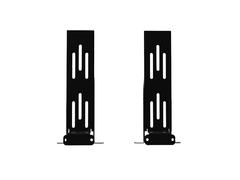
The product must be attached to the wall behind your pillows, generally just using two screws. This will depend on your wall type, but we do support all wall types as long as there is some structural strength to it. We have customers with wooden studs, metal studs, brick, concrete, stone, and even aerated concrete. Holes in the wall will be small and can be easily and quickly filled using a tube of pre-mixed filler, should you be concerned about being in a rental property.
Your wall does not take the weight or the forces from the bed when it is horizontal, in bed mode, or vertical, in exercise mode. Attaching to the wall is only necessary to ensure the rear of the base unit remains on the floor when you are lowering the bed frame. The forces involved are similar to mounting a flatscreen television to your wall and anyone comfortable with basic DIY can deal with this easily. We do not supply mounting screws etc as there are simply too many different types of wall construction. It is your responsibility to ensure you have sufficient knowledge in the room to deal with this.
The holes for the screws in the metalwork are 9mm diameter and you should use between 6mm and 8mm diameter screws (0.25" to 0.3125").
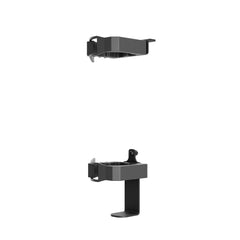
Wall Attachment – view from the 'foot' of the bed, facing the wall.
PLEASE DO NOT PRE-DRILL HOLES IN YOUR WALL, WAIT UNTIL YOU HAVE THE BASE UNIT BUILT AND IN POSITION.
(Viewing on mobile? Long press the image and select open the image in a new tab/window)

Wall Attachment – side view
(Viewing on mobile? Long press the image and select open the image in a new tab/window)

Recommended Floor Space
In general terms you will require a minimum of around 450 mm / 18" of length in your room longer than your chosen mattress size. For example, a UK king mattress measures 2000 mm / 79" long and hence the minimum recommended length of your room should be 2450 mm / 97". A US double mattress measures 1900 mm / 75" long and hence the minimum recommended length of your room should be 2350 mm / 93". This will allow you to stand at the foot of the bed and lift it. The absolute minimum for PIVOT to fit and function is 150 mm / 6" longer than your chosen mattress size, but you may experience difficulty in lifting and lowering the bed from the side – this is your risk to evaluate.
Without a Power Rack (and therefore not needing to load/unload a barbell), your room can be as narrow as your chosen size of PIVOT Bed or the rubber mats. The mats measure 1980mm wide and can be cut if absolutely required. The widest point of the PIVOT Bed is the base unit and you can see the measurements of this in the top drawing on this page – 178 mm / 7" wider than your chosen mattress width. Note that we rationalise bed sizes so a 1350 / 1360 mm 'double' size mattress will sit in a frame dimensioned for a 1400 mm mattress.
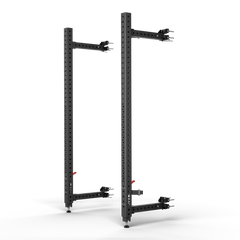
If you are contemplating our Power Rack accessory, your width restriction here will generally be in relation to loading and unloading your barbell with weight plates while the barbell is 'racked'. Please read this article on Where Best to Position Your PIVOT Bed to gain an in-depth understanding of the area required. It may help to know that on all but the narrowest beds the rack can be mounted offset to one side a little to help with this.
Finally, all PIVOT dimensions are listed on this page – please consult this before reaching out to ask a dimensional question.
Recommended Ceiling Height
Ignoring pull-up bar usage for a brief moment, the minimum ceiling height required is equal to: chosen mattress length + 150mm (or 6"). For example, a UK king mattress measures 2000 mm / 79" long and hence the absolute minimum ceiling height is 2150 mm / 85". Please consider any mats which may sit under the base unit – ours measures just 7mm on hard flooring and 18mm on carpet (requiring an additional layer of plywood).
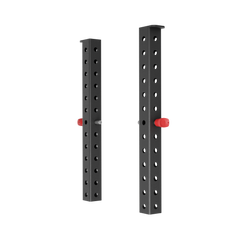
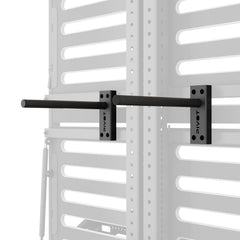
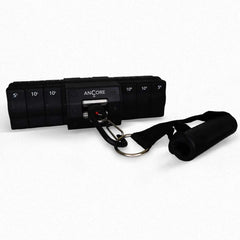
The pull-up bar which comes with the Power Rack attachment, as included in all our packages, can be set to any height from below knee-height. Ceiling height is therefore not an issue. We sell an optional accessory to allow extending the maximum height of your power rack pull-up bar and if you have adequate ceiling height and like to be able to stretch/jump to reach the bar, this is a great addition. The extensions increase the height of the power rack pull-up bar in 50 mm / 2" increments from 50 mm / 2" to about 450 mm / 18". They do not affect the total height of the bed/product when unextended.
Summary
PIVOT is slightly wider and longer than a regular bed, but not by much. In most cases if you can fit a double bed, you can fit a PIVOT Bed. However, please consider use with a barbell, if needed, and that you will need to stand at the foot of the bed to lift it.
Set aside about half a day to install it. It's essentially a long list of simple tasks to follow. The only real DIY skills needed are attaching to your wall, which is something any DIY professional will handle for you very quickly, efficiently and with minimal cost.